discover · compare · collections · requirements · contribute · feed · watching · stats · help with your tokens
sucong426/VPN · source
Snapshot 0 · 2026-11-04T12:47:26Z · Shell ·
Content fingerprint
76b1401ae071dba11deaa82c5943d17a40698007c3bea4533aaee055939de14aGitHub description at capture
快速搭建个人VPN/科学上网/翻墙/教程/ssr/ss/bbr/梯子搭建/自建机场/自由上网/代理服务/VPN/2023最新教程
README at capture
# 快速搭建个人VPN科学上网翻墙完全教程 ## 搭建自己的 VPN 很多时候我们需要使用 Google 查询第一手资料,比如官方的文档网站,或者一些文献,虽然市面上有一些 VPN 工具,但是它们不是很稳定,并且不是很安全,比较好的方式就是自己搭建一个属于自己的 VPN 服务,自己掌控。 ## 优惠购买云服务器vultr 在搭建之前需要一台境外的云服务器,而 [vultr](https://www.vultr.com/?ref=8872889) 服务商比较稳定,安全,相当于境内的阿里云。 值得说的一点是, [vultr](https://www.vultr.com/?ref=8872889) 给新用户的福利相当给力,充值 10 美元就可以获取 100 美元,你可以点击 [vultr 专属赠送新用户 100 美元](https://www.vultr.com/?ref=8872889) 进去抢先注册。 右上角有注册按钮,你也可以切换成中文界面: <img width="1446" alt="vpn搭建教程" src="https://user-images.githubusercontent.com/84239400/119019442-be0cc500-b98c-11eb-895b-0d6300dce93d.png">  接着使用邮箱和密码就可以注册了。 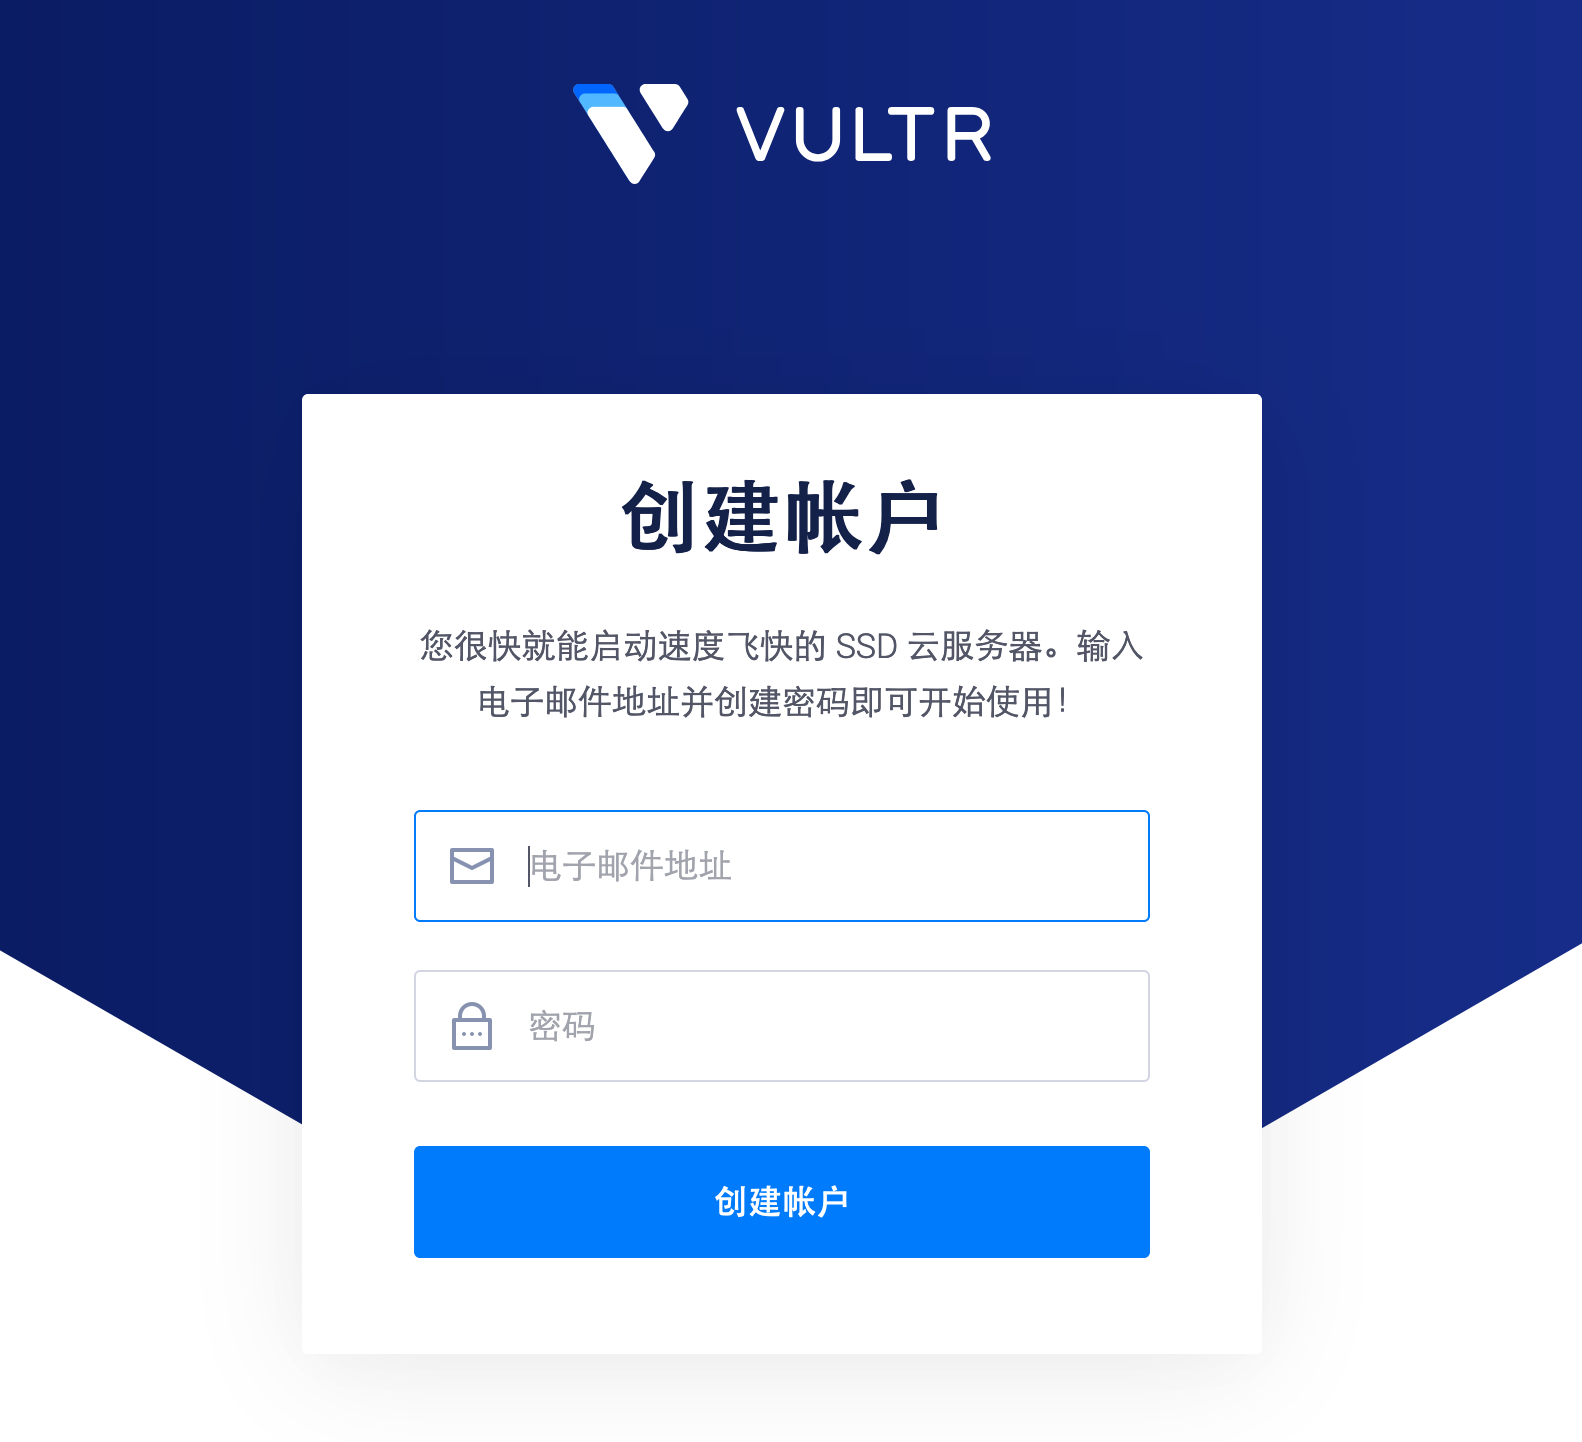 进去之后你可以看到这个页面,说明你已经通过 [vultr 专属优惠链接](https://www.vultr.com/?ref=8872889) 获得了 100 美元赠送的资格: 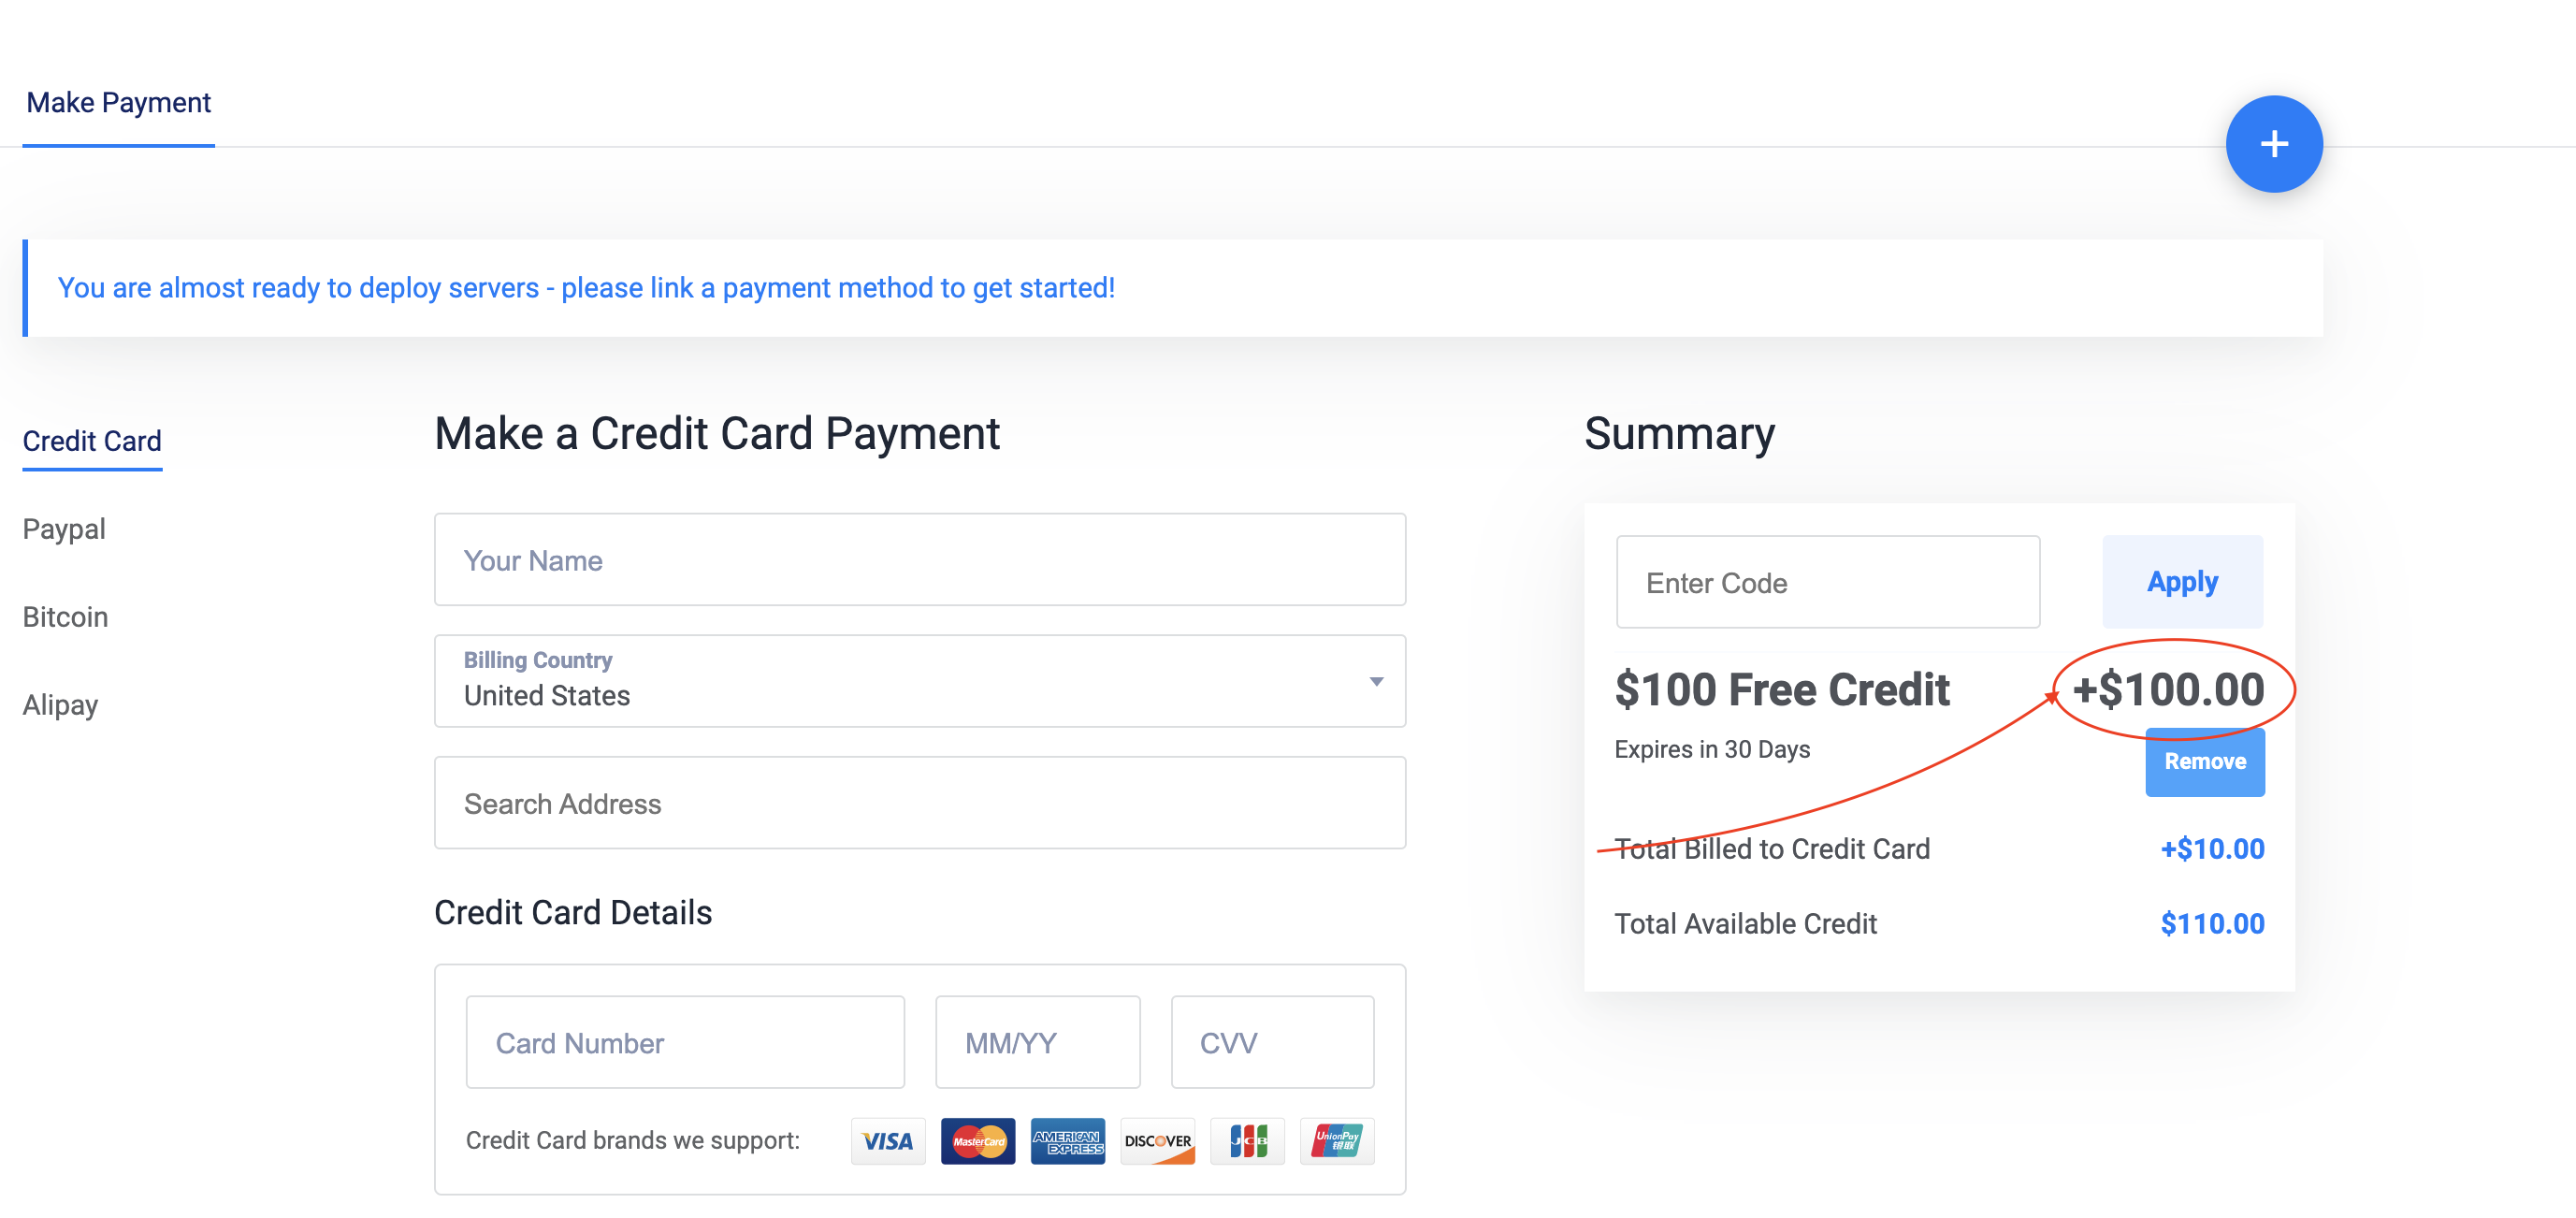 现在你只要选择支付宝充值 10 美元以上,就可以获得额外赠送的 100 美元。 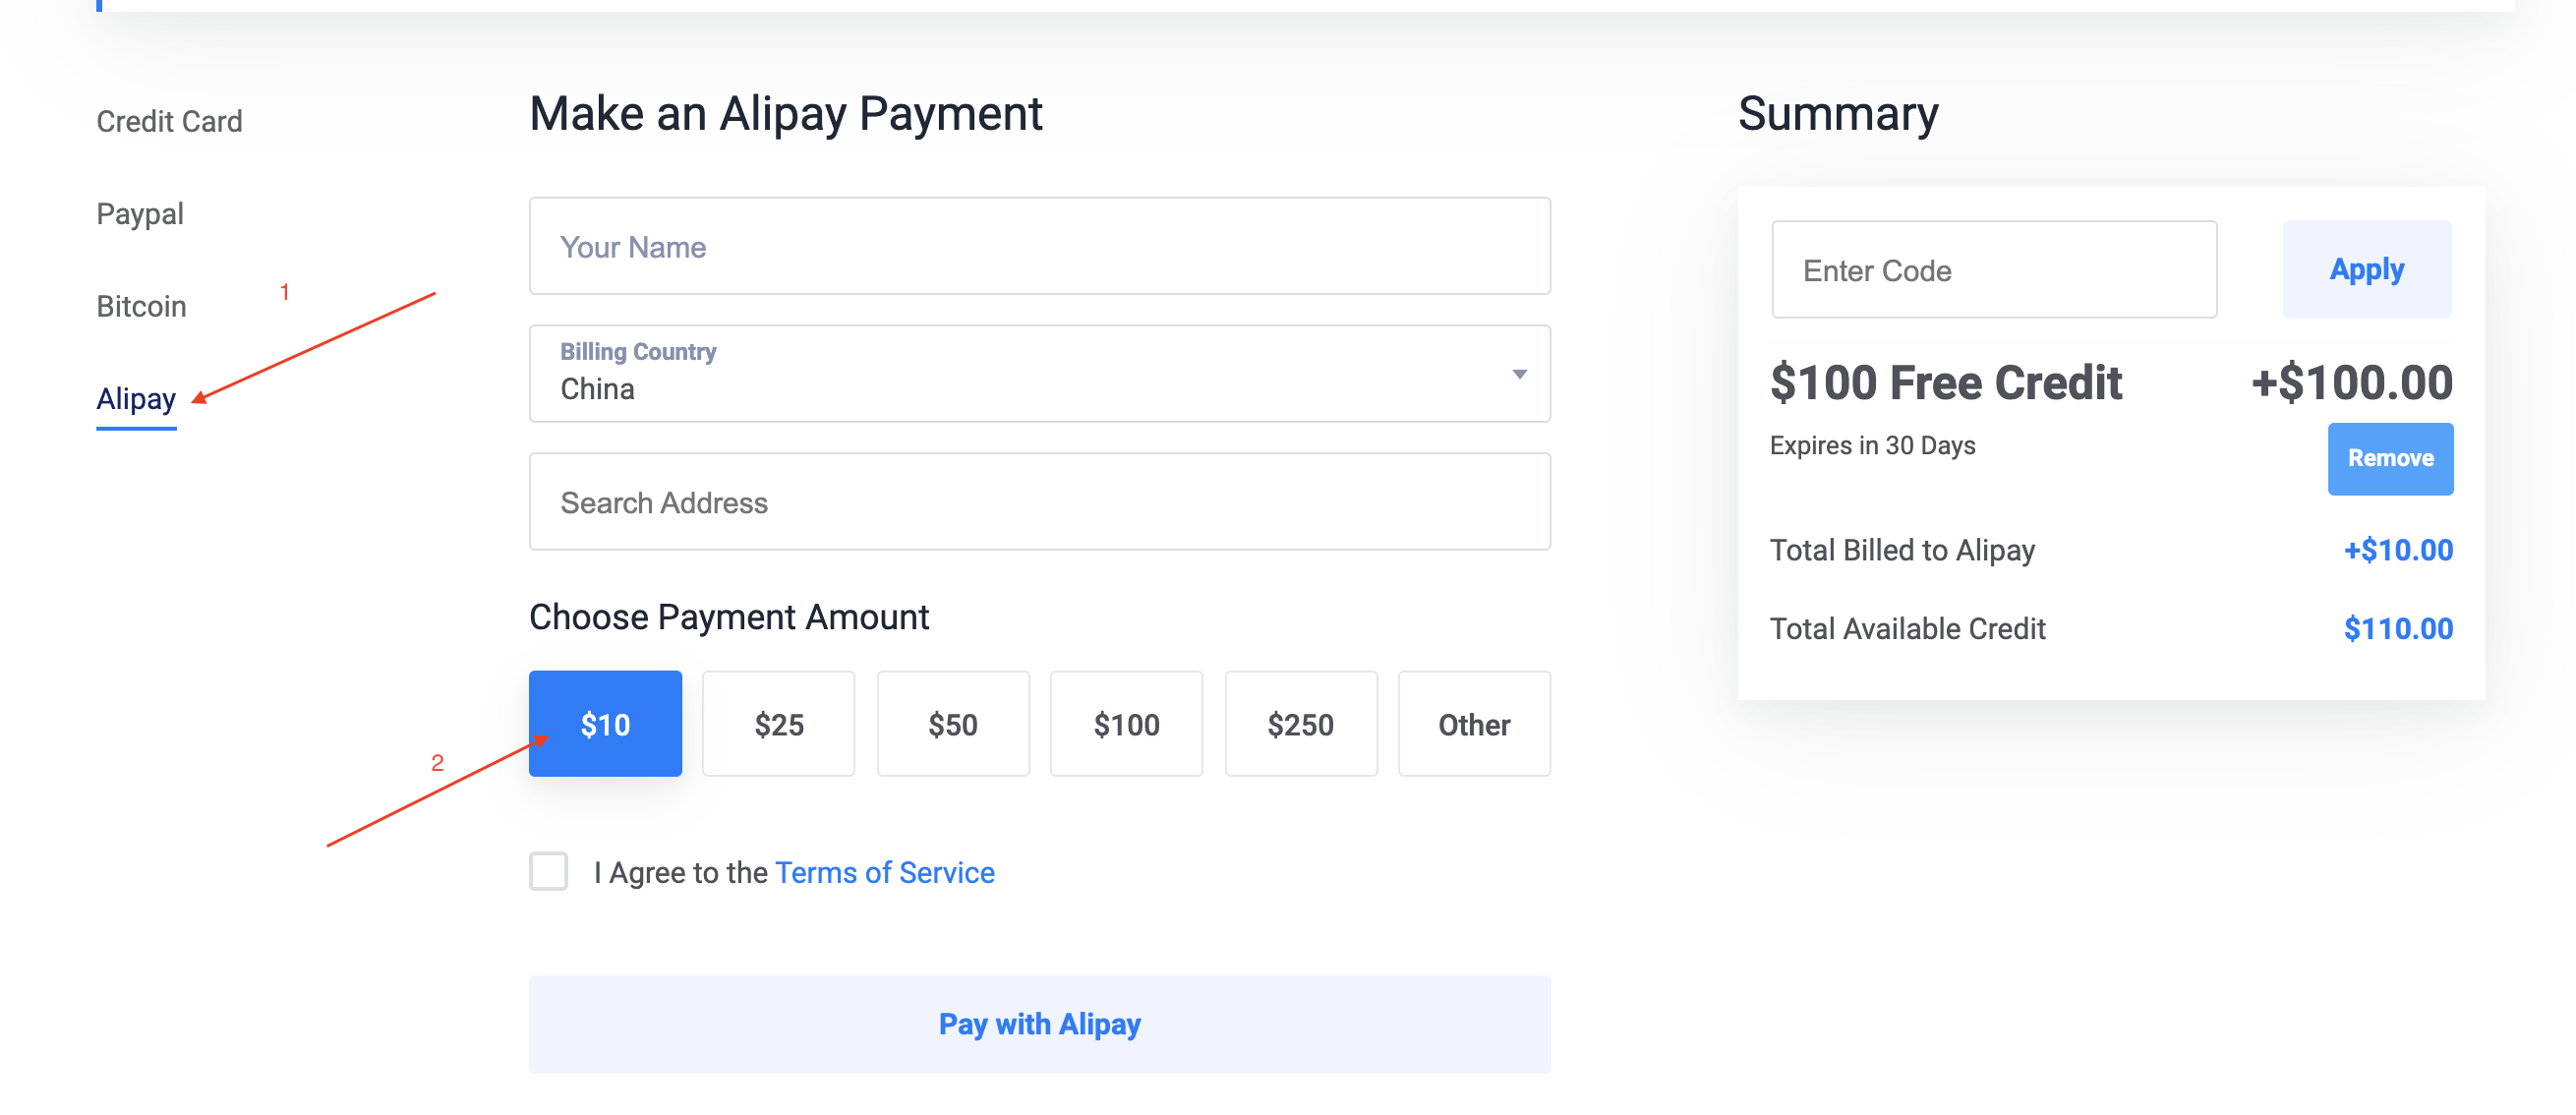 接下来就可以在这个平台选购云服务器了。 点击页面左边菜单栏的 「Products」进入服务器选购页面。 ### Choose Server 选择服务器 选择 Cloud Compute 即可: 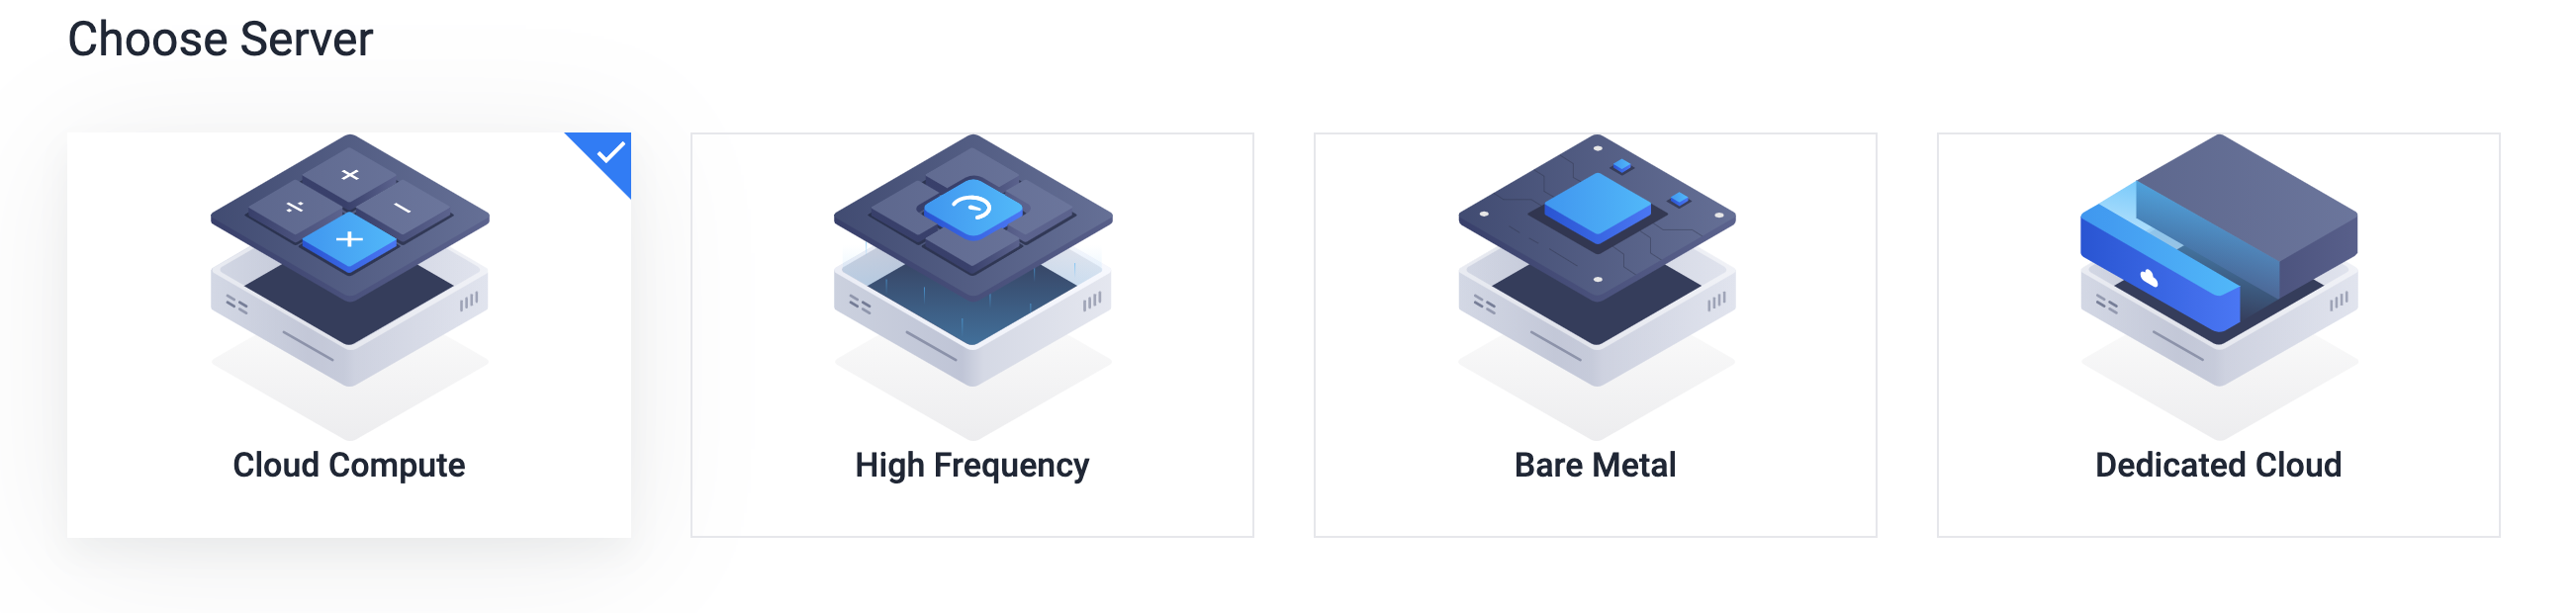 ### Server Location 服务器的位置,可以选择美国地区,比如纽约: 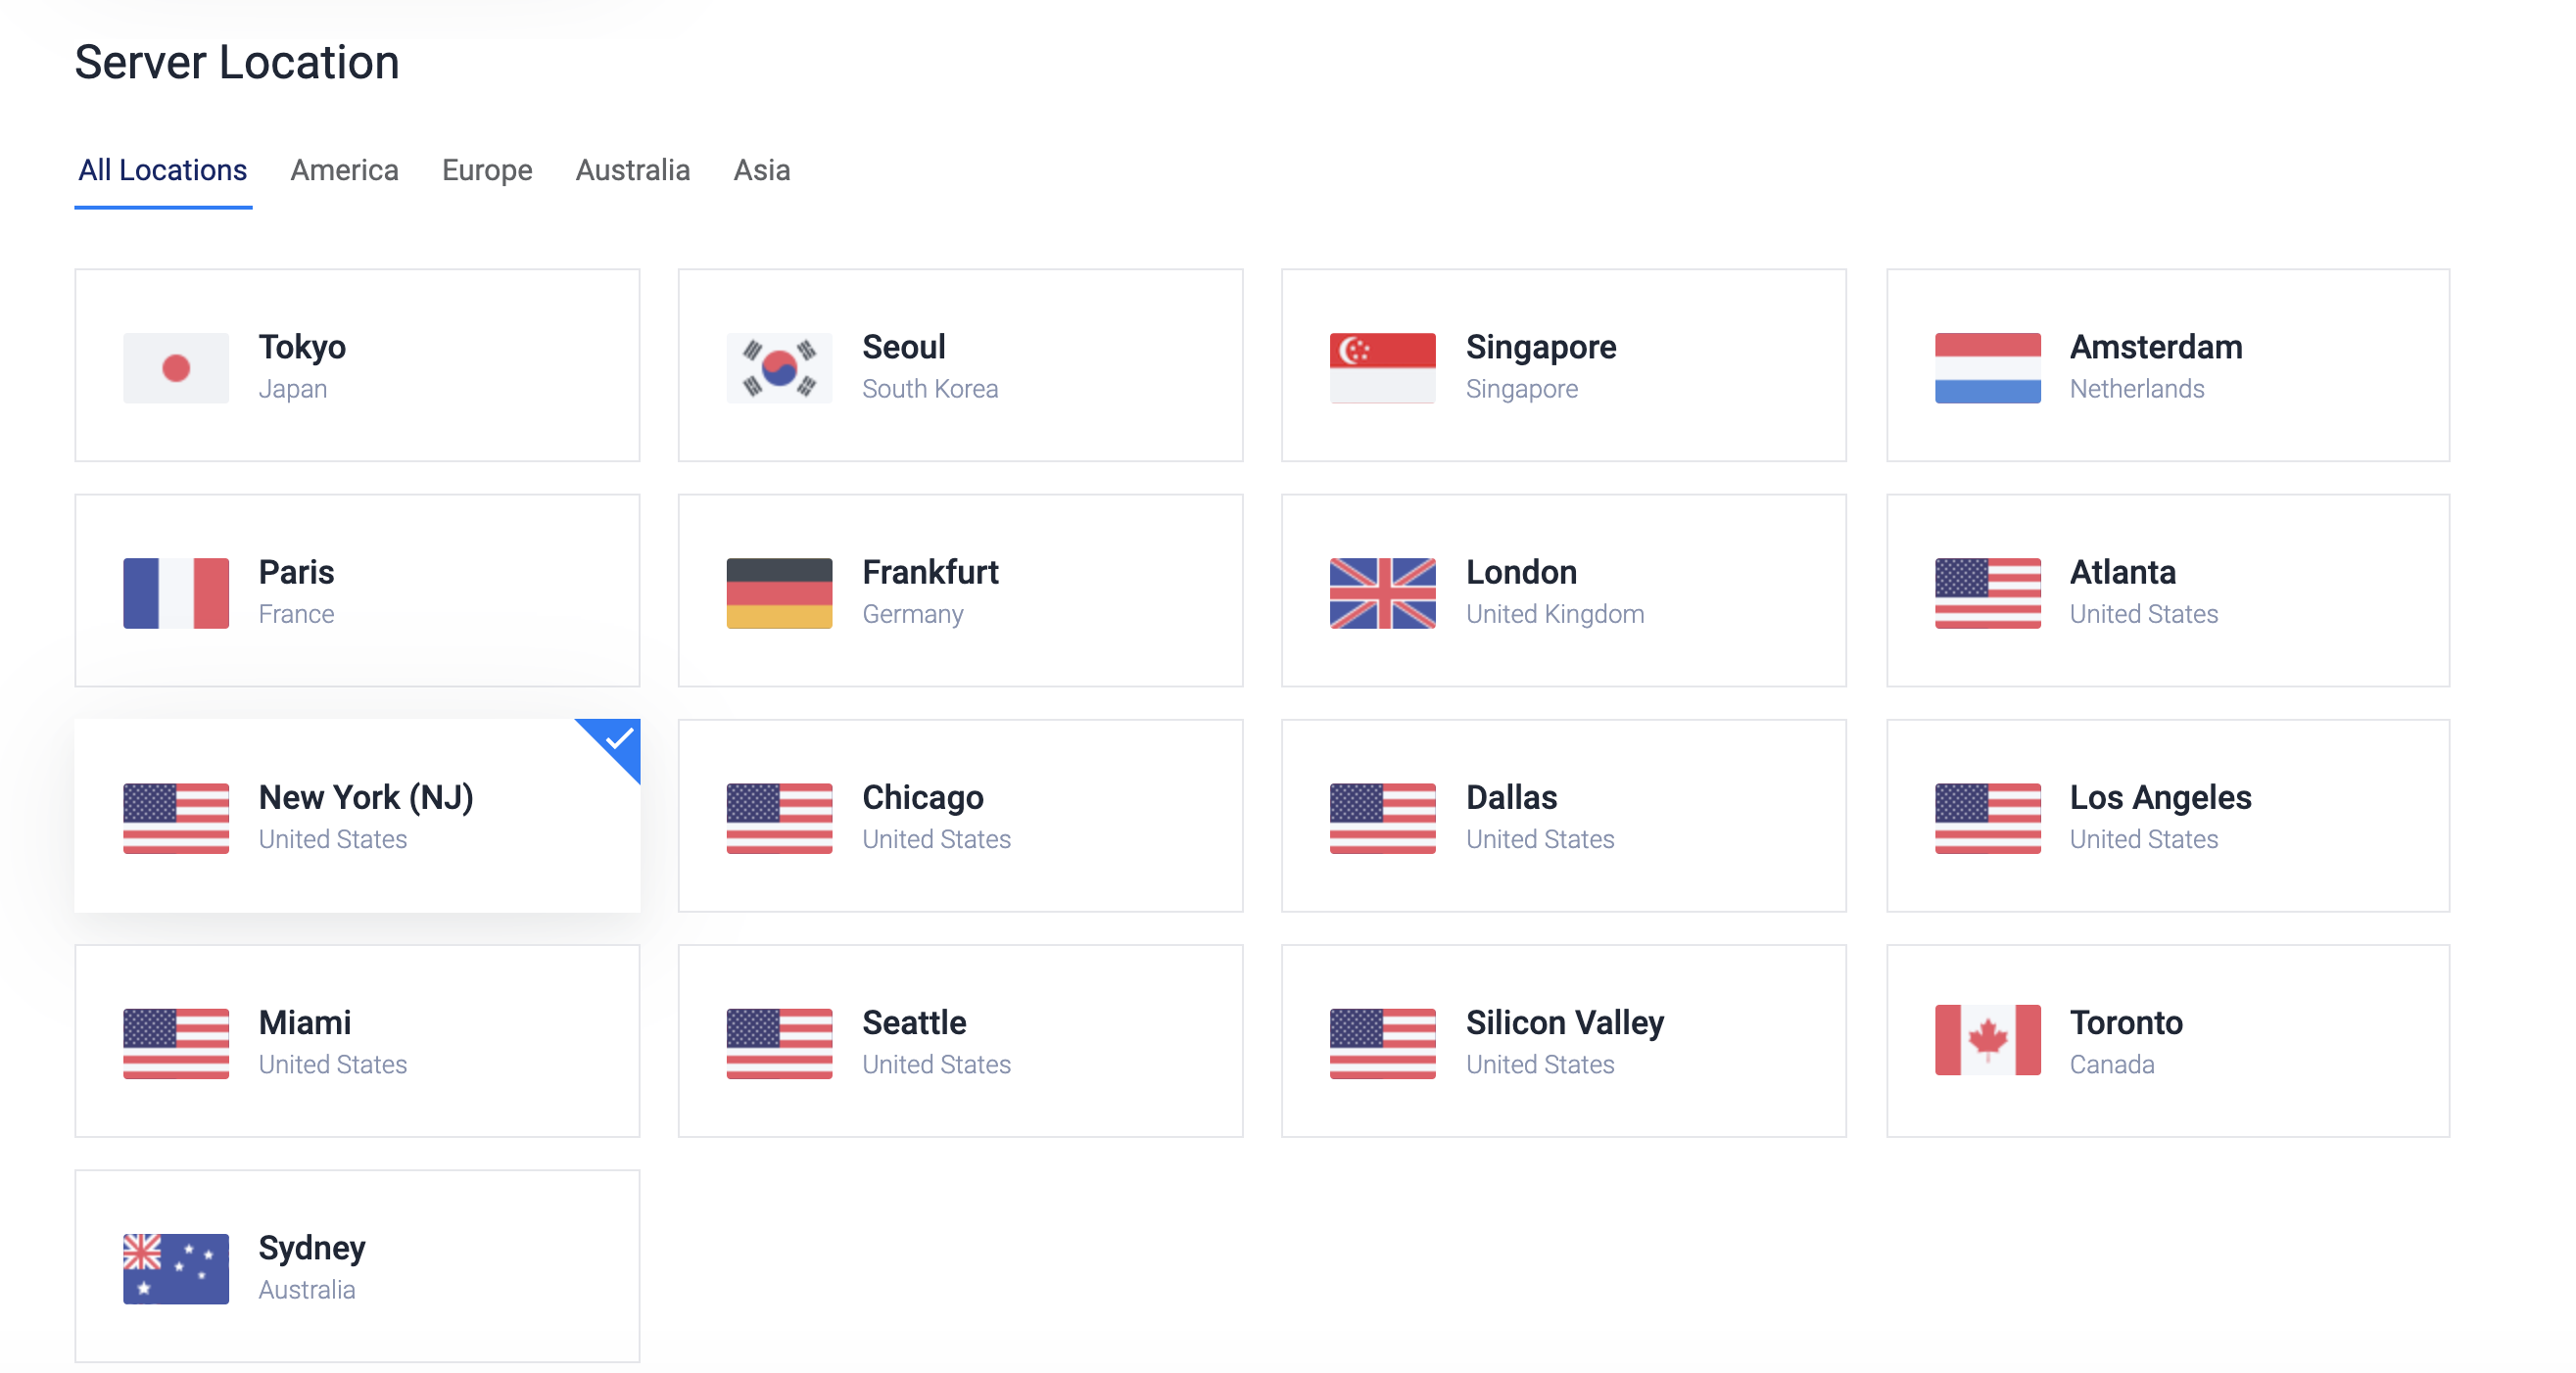 ### Server Type 服务器类型,CentOS 8 x64 系统: <img width="1297" alt="vpn搭建教程" src="https://user-images.githubusercontent.com/84239400/119020720-198b8280-b98e-11eb-9df3-19bf5a187a1e.png"> ### Server Size 内存,个人使用10G完全够用,这里选择3.5美元一个月,性价比高,注意不要选择IPv6 ONLY的,要不然无法搭建使用。 <img width="1240" alt="vpn搭建教程" src="https://user-images.githubusercontent.com/84239400/119020895-4a6bb780-b98e-11eb-9ac8-3cdd4f4397de.png"> 选择完了之后,下面的其它东西都不需要填,直接点击右下角 Deploy Now 就可以了: 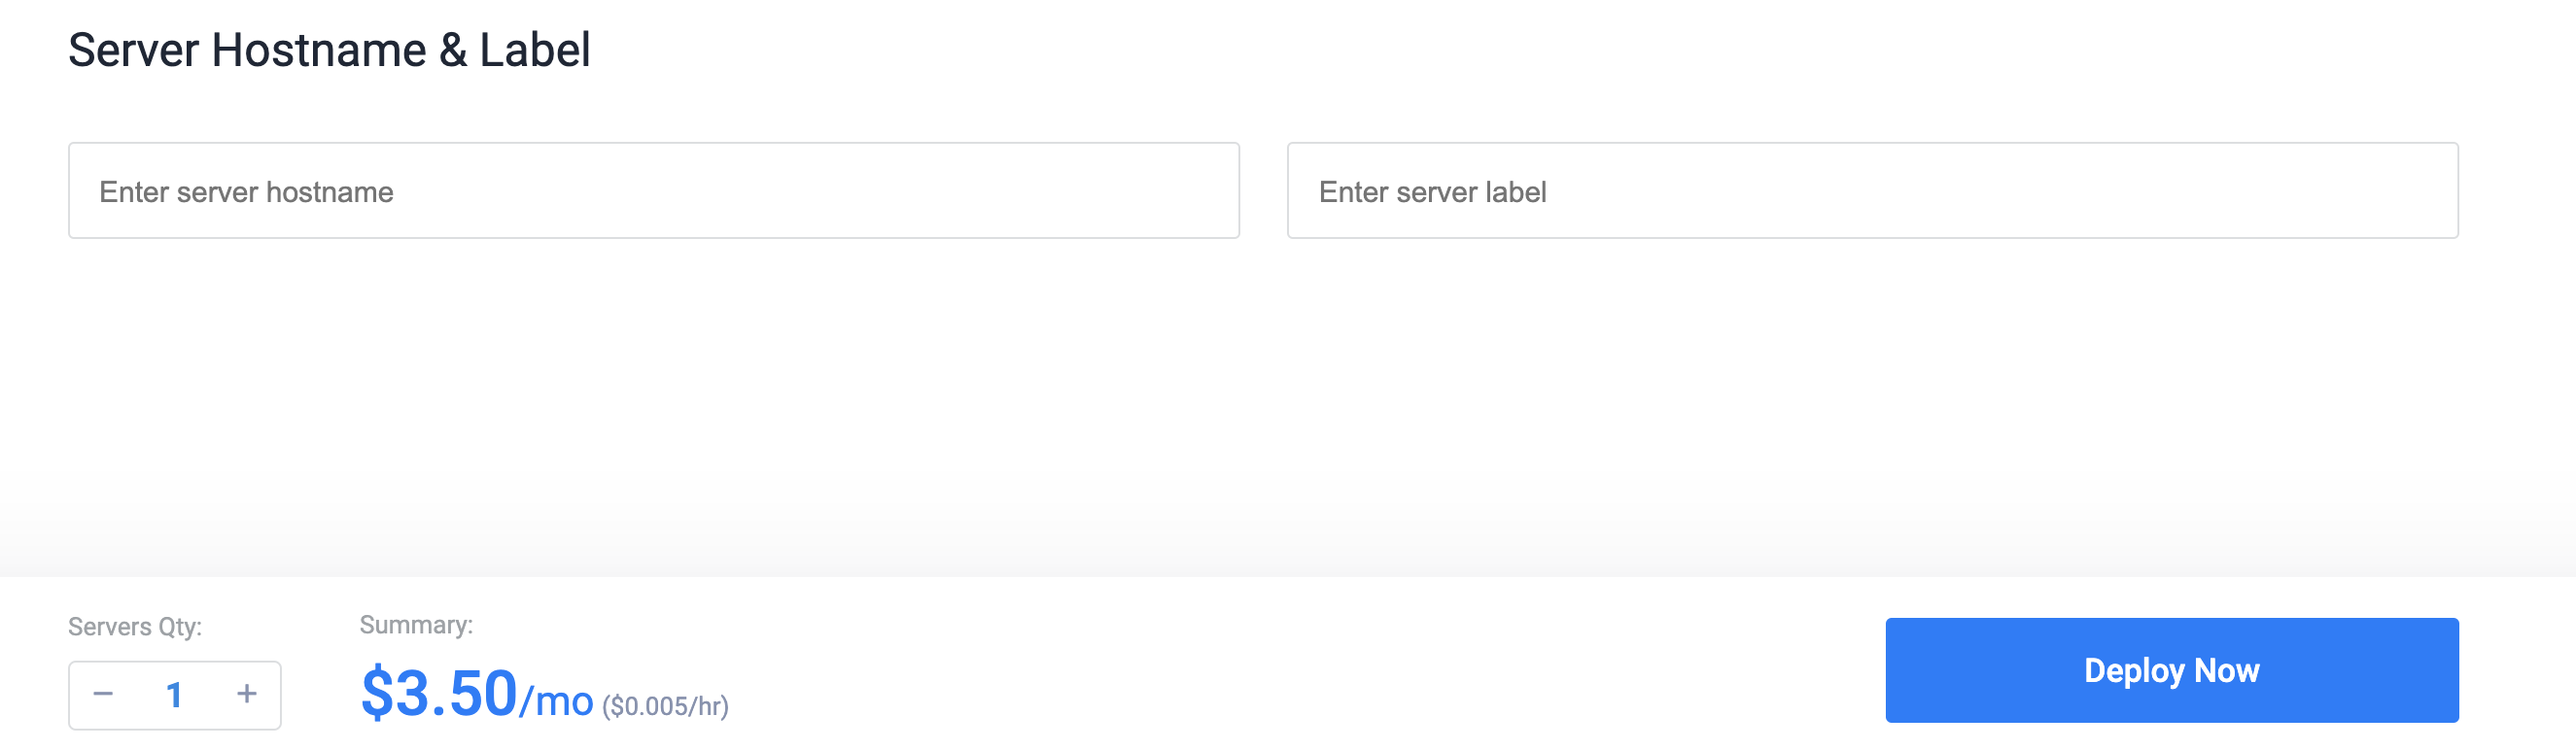 这时候你就拥有了自己的一台云服务器了: <img width="1261" alt="VPN搭建教程" src="https://user-images.githubusercontent.com/84239400/119021075-86068180-b98e-11eb-82a9-71edb9934f23.png"> 点击 Cloud Instance ,可以看到你服务器的 IP 地址和密码: <img width="1308" alt="vpn搭建教程" src="https://user-images.githubusercontent.com/84239400/119021183-a20a2300-b98e-11eb-8ff4-7f18d3e3bb80.png"> ## 连接到你的服务器 ### windows 系统连接到 vultr 服务器 windows 可以下载[PuTTY](https://www.chiark.greenend.org.uk/~sgtatham/putty/latest.html)工具。 打开之后选择 session,将你在 vultr 网上得到的服务器 ip 复制过来,输入到这里: 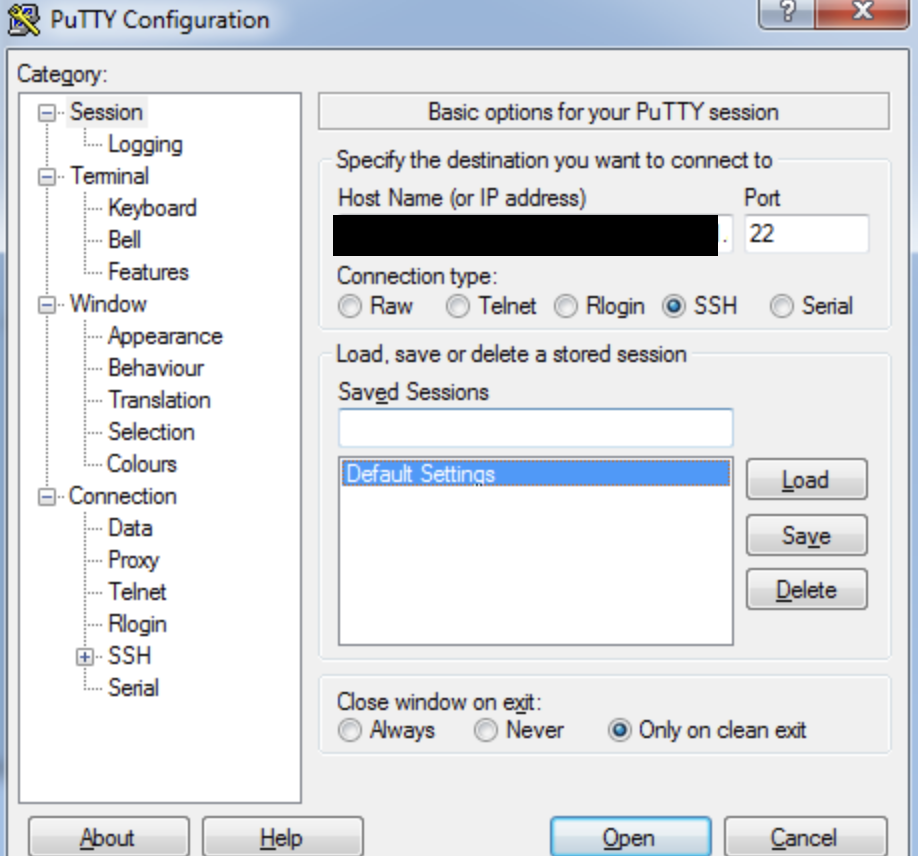 Port 默认 22,Connection Type 选择 SSH,接着点击 Open,连接进去之后输入你云服务器的密码。 ### Linux 和 MacOS 连接到 vultr 服务器 Linux 和 MacOS 可以打开终端,使用如下命令连接: ``` ssh root@xx.xx.xxx.xx ``` `xx.xx.xxx.xx`就是你的服务器上的 IP 地址。 连接进去之后输入 yes 后按回车,接着输入你云服务器的密码,即可使用云服务器。 <img width="772" alt="vpn搭建教程" src="https://user-images.githubusercontent.com/84239400/119024049-32963280-b992-11eb-8c05-db6df1f7fbfa.png"> ## 快速搭建 VPN ### 安装必要的库: ``` sudo yum -y install wget gcc gcc-c++ autoconf automake make ``` ### 安装 VPN 脚本 ss.sh: ``` wget –no-check-certificate -O ss.sh https://raw.githubusercontent.com/sucong426/VPN/main/ss.sh ``` ### 执行脚本 ``` sh ss.sh ``` <img width="791" alt="vpn搭建教程" src="https://user-images.githubusercontent.com/84239400/119024123-45a90280-b992-11eb-9ea5-514542f71594.png"> 设置你的 VPN 密码。 接着输入你 VPN 的端口,可以直接回车。 接着输入加密方式,你可以选择 7: <img width="574" alt="vpn搭建教程" src="https://user-images.githubusercontent.com/84239400/119024193-59546900-b992-11eb-8d71-81681e582e38.png"> 设置好了之后,按一下回车就可以开始安装,稍等一会,出现以下信息说明安装成功: <img width="645" alt="vpn搭建教程" src="https://user-images.githubusercontent.com/84239400/119024277-6bcea280-b992-11eb-90a9-7fa45cbdc97d.png"> 这是属于你自己 VPN 的 IP 地址,端口号,密码,加密方式。把它们复制下来,然后就可以使用客户端连接这个代理从而访问Google了。 复制号信息之后,服务器连接可以关掉,它会一直运行。 ## 开始使用 VPN ### PC 端使用 VPN 点击下载[shadowsocks](https://github.com/shadowsocks/shadowsocks-windows/releases/download/4.4.0.0/Shadowsocks-4.4.0.185.zip),可参考:[Shadowsocks Windows客户端快速使用指南](https://www.howru.cc/articles/414.html) ### 手机使用 VPN 去应用市场下载 shadowsocks,配置好你自己云服务器得到的 IP 地址,端口号,密码,加密方式,开启代理即可访问。 ## 访问 Google 速度可以:  ## 更多VPN搭建教程 - [vpn搭建教程](https://www.google.com/search?q=vpn%E6%90%AD%E5%BB%BA%E6%95%99%E7%A8%8B&oq=vpn%E6%90%AD%E5%BB%BA%E6%95%99%E7%A8%8B&aqs=chrome.0.69i59j35i39j0l3j69i60j69i65j69i60.2589j0j7&sourceid=chrome&ie=UTF-8) ## 赞赏 喜欢就给我个star或者fork一下吧❤️,谢谢!