discover · compare · collections · requirements · contribute · feed · watching · stats · help with your tokens
creativetimofficial/ui · source
Snapshot 0 · 2026-11-04T12:47:24Z · TypeScript · MIT
Content fingerprint
2aceb76dc093f3f52f779494c02481d0f4ff029c708dddec1f01f39938c8bde3GitHub description at capture
Open-source components, blocks, and AI agents designed to speed up your workflow. Import them seamlessly into your favorite tools through Registry and MCPs.
README at capture
[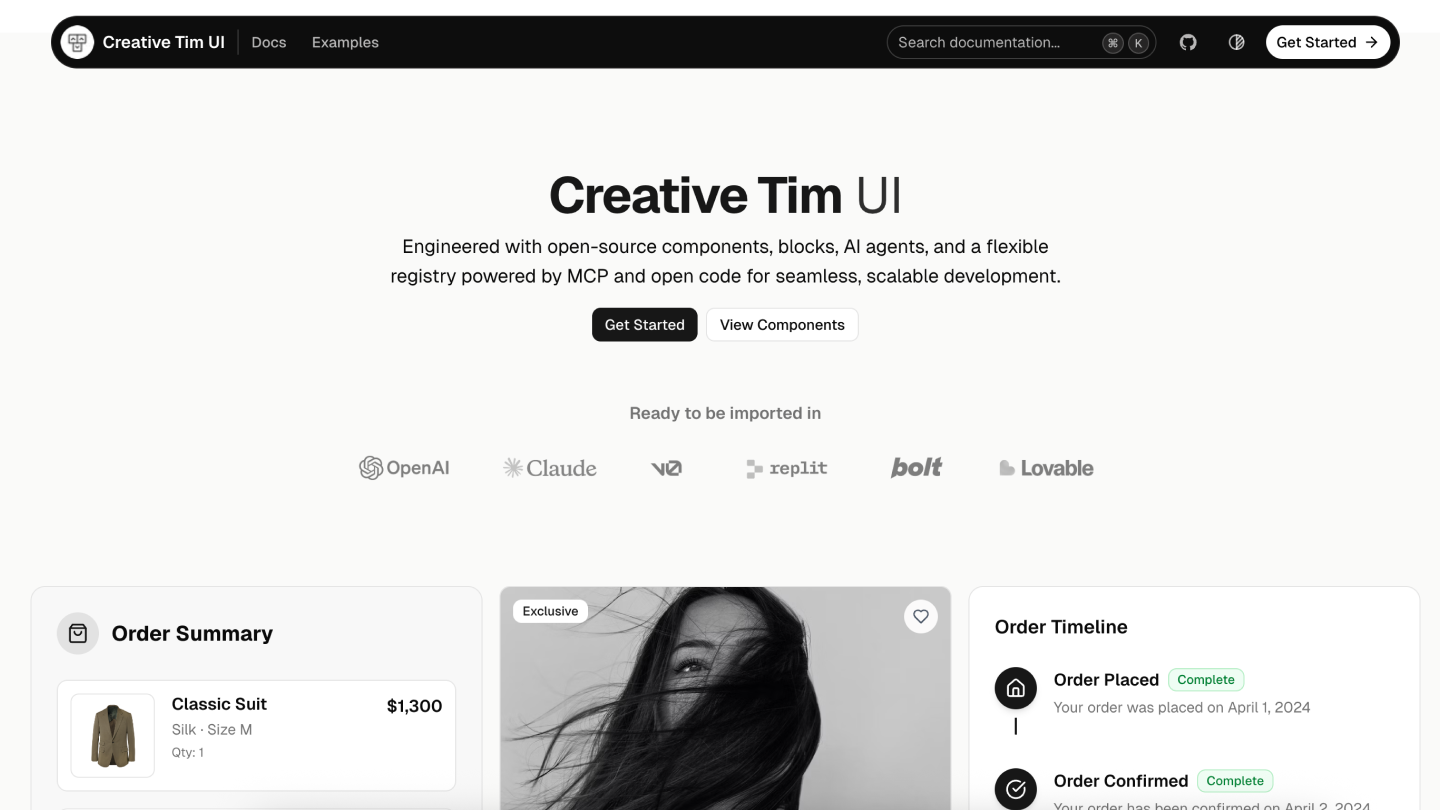](https://creative-tim.com/ui) # Creative Tim UI [Creative Tim UI](https://creative-tim.com/ui) is a comprehensive component library built on top of [shadcn/ui](https://ui.shadcn.com/) to help you build modern web applications faster. ## Overview Creative Tim UI provides pre-built, customizable React components and blocks designed for building beautiful, production-ready web applications. The CLI makes it easy to add these components to your Next.js project. ## Installation You can use the Creative Tim UI CLI directly with npx, or install it globally: ```bash # Use directly (recommended) npx @creative-tim/ui@latest add <component-name> # Or using shadcn cli npx shadcn@latest add https://creative-tim.com/ui/r/all.json ``` ## Prerequisites Before using Creative Tim UI, ensure your Next.js project meets these requirements: - **Node.js 18** or later - **shadcn/ui** initialized in your project (npx shadcn@latest init) - **Tailwind CSS** configured ## Usage ### Install All Components Install all available Creative Tim UI components at once: ```bash npx @creative-tim/ui@latest add all ``` This command will: - Set up shadcn/ui if not already configured - Install all Creative Tim UI components to your configured components directory - Add necessary dependencies to your project ### Install Specific Components Install individual components using the `components add` command: ```bash npx @creative-tim/ui@latest add <component-name> ``` Examples: ```bash # Install the orb component npx @creative-tim/ui@latest add card ``` ### Alternative: Use with shadcn CLI You can also install components using the standard shadcn/ui CLI: ```bash # Install all components npx shadcn@latest add https://creative-tim.com/ui/r/all.json # Install a specific component npx shadcn@latest add https://creative-tim.com/ui/r/button.json ``` All available components can be found [here](https://creative-tim.com/ui/docs/components) or explore a list of example blocks [here](https://creative-tim.com/ui/blocks). ## Blocks Explore our collection of ready-to-use blocks organized by category. Each block is fully customizable and can be added to your project with a single command. ### Application UI <table> <tr> <td width="25%"> <a href="https://creative-tim.com/ui/blocks/modals"> <img src="https://raw.githubusercontent.com/creativetimofficial/public-assets/refs/heads/master/david-ui/thumbs/modals-thumbnail.jpg" alt="Modals" /> <br/> <strong>Modals</strong><br/> <em>5 Blocks</em> </a> </td> <td width="25%"> <a href="https://creative-tim.com/ui/blocks/account"> <img src="https://raw.githubusercontent.com/creativetimofficial/public-assets/refs/heads/master/david-ui/thumbs/account-thumbnail.jpg" alt="Account" /> <br/> <strong>Account</strong><br/> <em>7 Blocks</em> </a> </td> <td width="25%"> <a href="https://creative-tim.com/ui/blocks/billing"> <img src="https://raw.githubusercontent.com/creativetimofficial/public-assets/refs/heads/master/david-ui/thumbs/billing-thumbnail.jpg" alt="Billing" /> <br/> <strong>Billing</strong><br/> <em>5 Blocks</em> </a> </td> </tr> </table> ### Marketing <table> <tr> <td width="25%"> <a href="https://creative-tim.com/ui/blocks/testimonials"> <img src="https://raw.githubusercontent.com/creativetimofficial/public-assets/refs/heads/master/david-ui/thumbs/testimonial-thumbnail.jpg" alt="Testimonial Sections" /> <br/> <strong>Testimonial Sections</strong><br/> <em>17 Blocks</em> </a> </td> <td width="25%"> <a href="https://creative-tim.com/ui/blocks/contact"> <img src="https://raw.githubusercontent.com/creativetimofficial/public-assets/refs/heads/master/david-ui/thumbs/contact-us-thumbnail.jpg" alt="Contact Sections" /> <br/> <strong>Contact Sections</strong><br/> <em>15 Blocks</em> </a> </td> <td width="25%"> <a href="https://creative-tim.com/ui/blocks/footers"> <img src="https://raw.githubusercontent.com/creativetimofficial/public-assets/refs/heads/master/david-ui/thumbs/footer-thumbnail.jpg" alt="Footers" /> <br/> <strong>Footers</strong><br/> <em>16 Blocks</em> </a> </td> </tr> <tr> <td width="25%"> <a href="https://creative-tim.com/ui/blocks/faqs"> <img src="https://raw.githubusercontent.com/creativetimofficial/public-assets/refs/heads/master/david-ui/thumbs/faq-thumbnail.jpg" alt="FAQs" /> <br/> <strong>FAQs</strong><br/> <em>6 Blocks</em> </a> </td> <td width="25%"> <a href="https://creative-tim.com/ui/blocks/blog"> <img src="https://raw.githubusercontent.com/creativetimofficial/public-assets/refs/heads/master/david-ui/thumbs/blog-posts-thumbnail.jpg" alt="Blog" /> <br/> <strong>Blog</strong><br/> <em>15 Blocks</em> </a> </td> </tr> </table> ### Ecommerce UI Ready-to-use blocks for product listings, shopping carts, and checkout flows. <table> <tr> <td width="25%"> <a href="https://creative-tim.com/ui/blocks/ecommerce"> <img src="https://raw.githubusercontent.com/creativetimofficial/public-assets/refs/heads/master/david-ui/thumbs/ecommerce-thumbnail.jpg" alt="Ecommerce Sections" /> <br/> <strong>Ecommerce Sections</strong><br/> <em>14 Blocks</em> </a> </td> </tr> </table> ### Web 3.0 Innovative sections built for decentralized applications, blockchain projects, and crypto platforms. <table> <tr> <td width="25%"> <a href="https://creative-tim.com/ui/blocks/web3"> <img src="https://raw.githubusercontent.com/creativetimofficial/public-assets/refs/heads/master/david-ui/thumbs/collections-thumbnail.jpg" alt="Web 3.0 Cards" /> <br/> <strong>Web 3.0 Cards</strong><br/> <em>5 Blocks</em> </a> </td> </tr> </table> ## Contributing If you'd like to contribute to Creative Tim UI, please follow these steps: 1. Fork the repository 2. Create a new branch 3. Make your changes to the components in the registry. 4. Open a PR to the main branch. Please read the [contributing guide](/CONTRIBUTING.md). ## Copyrights and Licenses Creative Tim UI is built upon the incredible work of the open source community: - **[shadcn/ui](https://ui.shadcn.com/)** - The documentation structure, registry system, and foundational (atomic) components are from the open source work in shadcn/ui. [MIT License](https://github.com/shadcn-ui/ui/blob/main/LICENSE.md) - **[Material Tailwind](https://material-tailwind.com/v3)** by Creative Tim - The blocks and component designs are inspired by and based on Material Tailwind Framework. [MIT License](https://github.com/creativetimofficial/material-tailwind/blob/main/LICENSE.md) - **[Eleven Labs UI](https://github.com/elevenlabs/elevenlabs-ui)** - General inspiration for the documentation structure and approach of blocks. [MIT License](https://github.com/elevenlabs/ui/blob/main/LICENSE.md) - **[Geist Font](https://vercel.com/font)** by Vercel - The beautiful typeface used throughout the interface. [SIL Open Font License 1.1](https://github.com/vercel/geist-font/blob/main/LICENSE.txt) We are grateful to these projects for making their work available under open source licenses. ## License Licensed under the [MIT license](https://github.com/creativetimofficial/ui/blob/main/LICENSE.md). Made with love by [Creative Tim](https://creative-tim.com).